How to Choose the Right Flexible Feeding System?
Choosing a Flexible Feeding System begins with the material, not the machine brochure. Powder, flakes, pellets, and fragile parts behave differently in a hopper, chute, or bowl. A system that feeds steadily during a short trial may still struggle when humidity changes or production runs longer. Small details matter. A sticky powder can bridge above an outlet, while a lightweight component may scatter at transfer points.
Before comparing equipment, define the required feed rate, available floor space, upstream and downstream connections, and product changeover frequency. Ask suppliers how they test with your actual material, and request measurable results such as output consistency and reject rates. Check access for cleaning, routine inspections, and replacement of wear parts. Controls should fit operators’ workflows and communicate clearly with existing equipment. Safety features and guarding also need review by qualified personnel.
There is no universal best choice. That sounds obvious, yet teams sometimes prioritize speed before confirming reliability. Consider a line that needs frequent product changes: a compact system with accessible contact surfaces may be more useful than a faster unit that takes longer to clean. Still, one successful sample run is not proof of dependable performance. Test representative materials under realistic conditions, record where feeding becomes uneven, and ask what adjustments were needed. Some uncertainty will remain; acknowledge it. A careful selection process connects operating needs with verified performance, giving engineers and buyers a clearer basis for choosing a system that can work consistently in their plant.
What Is a Flexible Feeding System and How Does It Work?
How to Choose the Right Flexible Feeding System?
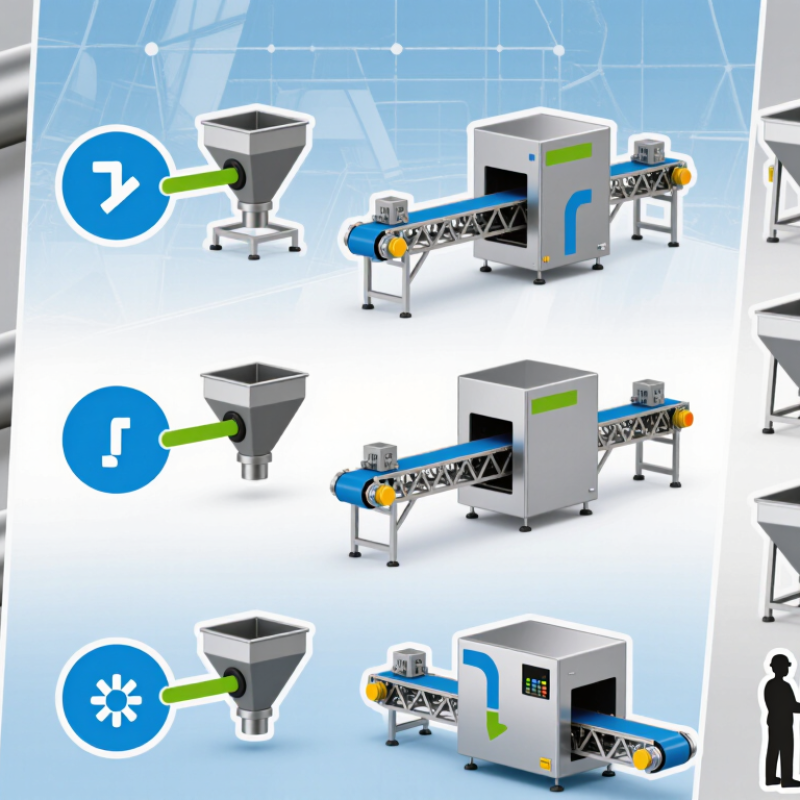
A flexible feeding system presents parts in a usable position without relying on a dedicated track for every component. It commonly combines a hopper, a flat or vibratory feeder, a camera, and a robot. The feeder spreads parts across a surface. A camera identifies their position and orientation, then the robot picks suitable parts and places them into a machine or fixture. Parts that are tangled or face the wrong way may be redistributed for another attempt. Small details matter: glossy surfaces, overlapping parts, and inconsistent shapes can make recognition harder.
Tips: Test with real production parts, not only clean samples. Check pickup accuracy, cycle time, and changeover effort across different batches. Ask how the system handles empty feeders and missed picks. No setup is truly plug-and-play; I would treat that claim cautiously.
When choosing a system, consider part size, weight, material, and the required feed rate. A system that works well with rigid plastic pieces may struggle with soft or reflective components. Review how recipes are stored and how operators adjust settings after a part change. Also check whether the feeder fits your available floor space and connects cleanly with downstream equipment. A short factory trial can expose awkward handoffs before installation. It may not reveal every issue, but it is a useful reality check.
Which Parts, Materials, and Product Features Must the System Handle?
A flexible feeding system should be chosen around the actual parts, not just a target production rate. Start by listing each part’s dimensions, weight, shape, and acceptable orientation. Include the awkward ones: a thin cap, a short pin, or a part with an off-center feature. Fit matters. Small, light parts may cling together, while long pieces can bridge at a hopper outlet. Record where parts snag or rotate during a trial; those details often reveal more than a parts drawing.
Material matters, too. Smooth plastic, oily metal, and soft elastomers behave differently under vibration and contact. Check whether contact surfaces could scratch, mark, or deform the part. Then assess the product features the system must handle, such as fragile edges, holes, threads, or variable surface finishes. Test the real parts. A bench test may still miss changes between production batches, so leave room to adjust guides, feed speed, and tooling. Feed rate should match the downstream machine without forcing parts through too quickly. Ask how often changeovers occur and how much time operators can spend cleaning or adjusting the system. A quieter setting may reduce part damage but lower throughput. That tradeoff deserves a real trial, not an assumption.
How to Choose the Right Flexible Feeding System?
Typical bulk-density ranges for common feed materials (kg/m³)
How to use this chart: Bulk density affects hopper capacity, feeder sizing, and conveying behavior. These approximate ranges vary with particle size, moisture, and processing conditions; measure your actual material before specifying a system.
Also check: particle size and shape, flowability, abrasiveness, moisture, friability, and dustiness. Confirm that the hopper, flexible connectors, feeder, seals, and conveying line suit the product and required cleaning method.
How Should Feeding Capacity and Changeover Needs Be Assessed?
A flexible feeding system should match the real production mix, not just a supplier’s maximum rate. Record output needs during normal, peak, and slow shifts. Include product size, shape, spacing, and the rate of upstream delivery. A line handling small sachets at 80 units per minute may behave very differently with wider cartons. Measure the real mix.
Allow for interruptions. A feeder needs enough usable capacity to bridge brief upstream pauses, but an oversized buffer can hide recurring problems or occupy valuable floor space. Check refill frequency, loading access, and how operators replenish product while the line runs. Peak speed matters, but stable output across a full shift matters more.
Changeover needs deserve the same scrutiny. List every product format and identify which parts, guides, or settings must change. Time the full process, including removing components, cleaning contact areas, entering settings, and producing the first acceptable pack. Teams sometimes count only the mechanical swap; that misses the longest delays. It is an easy estimate to get wrong. Test representative products and a realistic changeover during a trial, then compare the measured time and output with production targets. Keep a record of exceptions, too, because one awkward format can shape the whole system choice.
Which System Design Best Fits the Production Environment?
The right flexible feeding system starts with the production environment, not a catalog. Map the part’s path from bulk storage to the machine. Note changes in height, aisle width, operator access, and nearby equipment. A bowl feeder may suit stable, uniform parts, while vision-guided feeding can handle mixed shapes and frequent changeovers. Neither option is automatically better. Dust, glare, vibration, and limited floor space can change the result.
Tips: Test representative parts, including scratched, oily, or slightly bent pieces. Record orientation success, changeover time, and recovery after a jam. Check whether operators can refill and clean the system without blocking an aisle. Leave room for cables and service access. One overlooked corner matters.
Match the design to the actual production rhythm. High-volume lines may benefit from dedicated tooling when parts stay consistent. Short runs may favor adaptable tooling, though flexibility can add setup steps. Compare feeder output with the downstream machine’s needs, not just the advertised maximum. Request a trial using your own parts and lighting. Results can be imperfect; a small sample may hide troublesome variation. Recheck after installation, because real floors are rarely as tidy as drawings.
How Can Safety, Integration, and Maintenance Requirements Be Verified?
Before approving a flexible feeding system, test it with the actual parts, not just sample images or a supplier’s demonstration pieces. Check for pinch points, accessible moving parts, and safe access during clearing or changeover. Verify that guards and emergency stops work as intended, including when the system is connected to surrounding equipment. Small details matter. A part that jams once during testing may jam often in production. Record the test conditions and results so operators can compare them with later performance.
Integration needs hands-on checks, too. Confirm that the feeder exchanges start, stop, fault, and ready signals correctly with the production line. Test realistic part variations, empty-hopper conditions, and restart behavior after a fault. Maintenance requirements should be equally concrete: identify wear parts, cleaning steps, tool access, and expected service intervals. Can a technician reach the bowl or track without dismantling nearby equipment? That is easy to overlook. A maintenance plan based only on ideal operating conditions may prove too optimistic. Keep a record of jams, adjustments, and service time, then review it after the first production runs.